Must-Have Supplies for Seamless Drywall Repair: A Complete Checklist
When it comes to maintaining a flawless look in any room, smooth and well-kept walls are essential. Over time, however, minor damage to drywall—like cracks, holes, and scuffs—is nearly inevitable. A well-prepared drywall repair kit can make all the difference in achieving a professional finish with minimal hassle. Below is a complete checklist of must-have supplies to make sure you’re fully prepared for seamless drywall repair. This guide is brought to you by Saskatoon Drywallers, your local experts in drywall solutions!
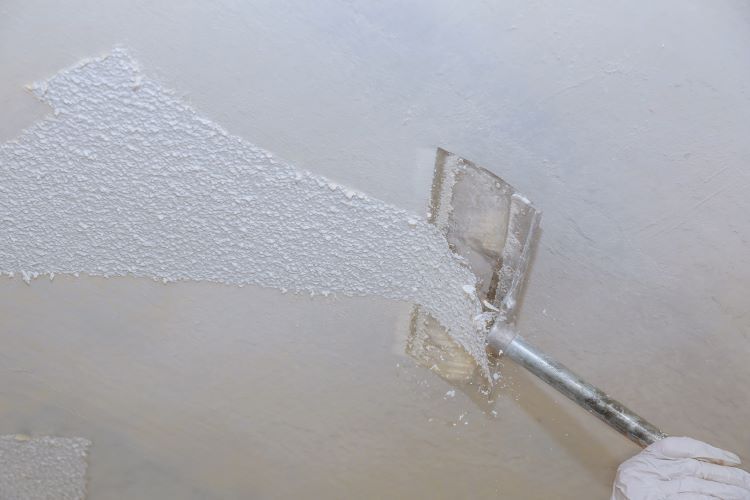
1. Drywall Patching Compound (Spackle or Joint Compound)
The foundation of any drywall repair is a reliable patching compound. You have options like quick-drying spackle for smaller holes or joint compound (also called “mud”) for more extensive repairs. Spackle dries quickly and is perfect for nail holes, while joint compound works well for smoothing out larger damaged areas.
Pro Tip: Opt for a low-dust or lightweight compound to reduce cleanup and create a smoother surface.
2. Drywall Repair Patches
Repair patches are a lifesaver for holes larger than half an inch. These mesh or metal adhesive patches are easy to apply, providing stability to the damaged area before applying joint compound.
Types of Patches:
- Mesh: For medium-sized holes and cracks.
- Metal-backed: For added durability on larger areas of damage.
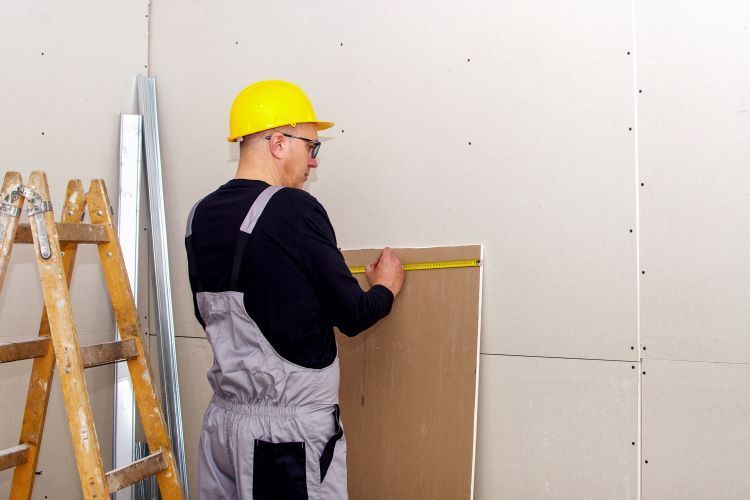
3. Putty Knives and Taping Knives
For a seamless finish, a variety of knives is essential:
- 2-3 inch Putty Knife: Perfect for small patches and applying spackle to nail holes.
- 6-12 inch Taping Knife: Ideal for spreading compound smoothly over larger areas or wider patches.
Pro Tip: Stainless steel knives are durable, rust-resistant, and give a cleaner finish.
4. Sandpaper or Sanding Sponge
Sanding is critical to achieving a smooth and even finish on your repair. Sandpaper ranging from 120- to 220-grit is ideal for this. Sanding sponges are another excellent option, as they’re easy to handle and can be used for precise smoothing.
- Medium grit: For initial sanding to smooth out large patches.
- Fine grit: For finishing and blending the repair into the surrounding drywall.
5. Primer and Paint
Priming your repair before painting ensures even color application and durability. Use a primer compatible with drywall, such as a stain-blocking primer, to help cover up any differences between the patched and original drywall. Once primed, match the paint color for a seamless look.
Pro Tip: Even if the color match isn’t exact, it’s often possible to blend edges using a feathering technique with a sponge or roller.
6. Drywall Tape
For cracks and larger repairs, drywall tape reinforces the joint compound. There are three main types to consider:
- Paper Tape: Best for general repairs and easy to embed into the compound.
- Mesh Tape: Self-adhesive and ideal for larger or stress-prone areas.
- Ultra-thin Fiberglass Tape: Adds strength without adding bulk, great for smooth finishes.
7. Utility Knife and Scissors
A sharp utility knife is essential for cutting out damaged sections of drywall, trimming tape, or creating a clean edge on patches. Scissors can also be useful for cutting tape or mesh.
Pro Tip: Replace the utility knife blade regularly to avoid tearing the drywall.
8. Dust Mask and Safety Gear
Drywall repair can produce a significant amount of dust. Wearing a dust mask, safety goggles, and gloves is essential to protect yourself from inhaling dust or getting debris in your eyes.
9. Drop Cloth and Painter’s Tape
Preparation is key to preventing a messy workspace. Place a drop cloth under your repair area to catch dust and debris, and use painter’s tape to mask off any adjoining walls or trim to avoid accidental smudges.
10. Sponge and Clean Cloths
After sanding, a damp sponge can help wipe away dust, making it easier for paint or primer to adhere. Use clean cloths to wipe off any residue for a smooth, dust-free surface.
Tips for a Seamless Finish
Following these tips will help you achieve a professional-grade repair that blends seamlessly with the rest of your wall:
- Layering Technique: Apply joint compound in thin layers, allowing each layer to dry before applying the next. This approach reduces shrinkage and cracking.
- Feathering the Edges: When applying compound around the edges of the repair, use light pressure to feather it into the surrounding wall. This helps the patch blend into the existing drywall.
- Final Sanding and Clean-Up: Once the compound is dry, lightly sand with a fine-grit sandpaper until smooth. Be careful not to sand through the patch.
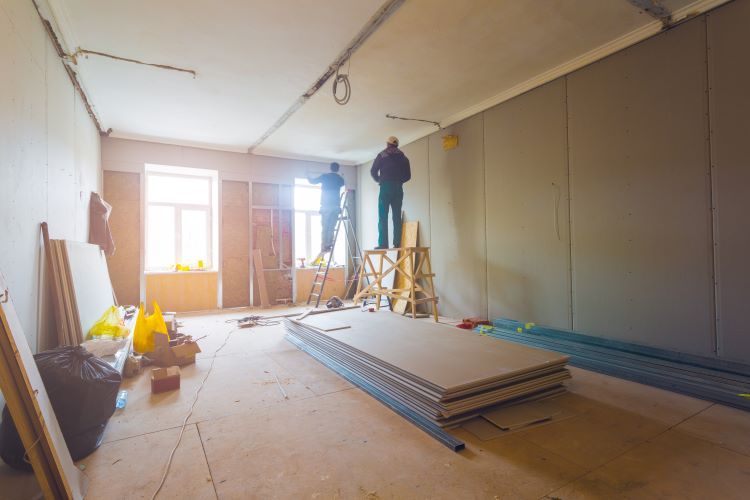
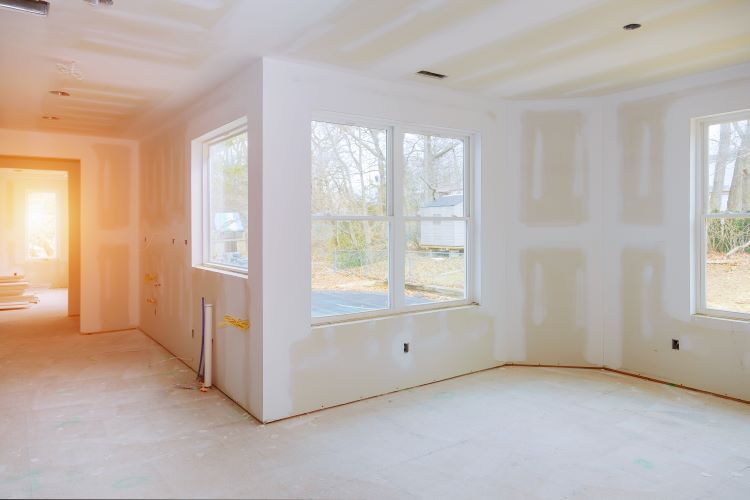
Get Professional Help from Saskatoon Drywallers
While many small drywall repairs are manageable as DIY projects, larger repairs and refinishing may benefit from the expertise of professional drywallers. Saskatoon Drywallers are here to ensure flawless results, whether you’re tackling small touch-ups or extensive renovations. Contact us today for a consultation and see how we can make your walls look good as new!
You might also like