The Process of Drywall Finishing
Drywall finishing is the art of transforming raw drywall sheets into smooth, polished walls ready for paint or other finishes. At Saskatoon Drywallers, we know how important a quality finish is to the overall look of your space. If you’re planning a drywall installation, here’s an in-depth look at the drywall finishing process and what you can expect for a flawless outcome.
Understanding the Levels of Drywall Finishing
Drywall finishing consists of several stages, each adding to the final appearance. Industry standards define five distinct levels of drywall finish, from Level 0 to Level 5. Choosing the right level depends on your aesthetic preferences and the final surface treatment.
- Level 0: No finishing is done. This is just bare drywall installed, with no tape, mud, or sanding.
- Level 1: Basic taping and mudding for joints and screws. Often used in unfinished spaces like garages or attics.
- Level 2: Adds a second coat of joint compound over tape, suitable for areas that will be covered or tiled.
- Level 3: A third coat of compound, smoothed out, intended for walls that will receive a textured finish.
- Level 4: For smooth walls with a light or flat paint finish. Sanded to an even, seamless surface.
- Level 5: Adds a thin layer of joint compound over the entire surface for a pristine finish, ideal for high-end walls under bright lighting or glossy paint.
For most interior walls, Level 4 is a common standard, while Level 5 is popular in areas with high lighting or visible imperfections.
Step-by-Step Drywall Finishing Process
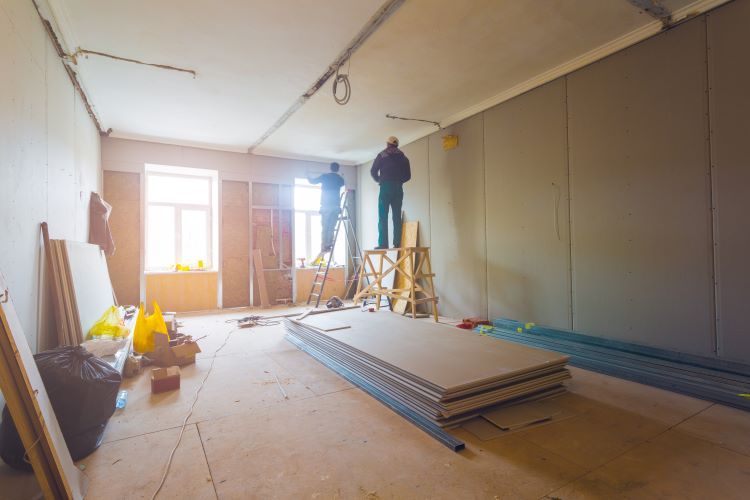
1. Preparation
Before any finishing work begins, proper preparation is crucial. At Saskatoon Drywallers, we ensure that drywall sheets are securely installed, with minimal gaps and firmly fastened screws. Small issues like rough edges or misalignments are corrected in this stage. Additionally, a clean workspace is essential, as dust or debris can interfere with the finishing process.
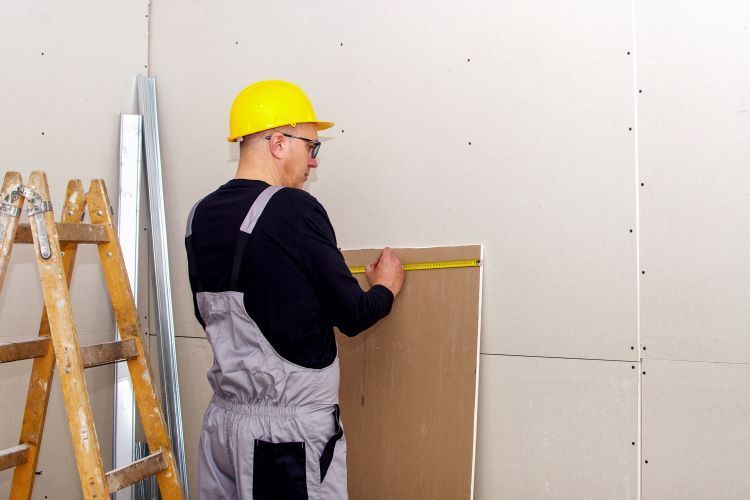
2. Taping the Seams
Taping involves covering the seams between drywall sheets with joint tape, usually made of paper or fiberglass mesh. Paper tape is more common and is applied over a thin layer of joint compound. Fiberglass tape is typically used for extra strength and durability. Taping strengthens the joints and prevents cracks as the building settles over time.
- Pro Tip: Paper tape is less prone to stretching or bubbling when applied correctly, which makes it a popular choice for walls and ceilings.
3. First Coat of Joint Compound (Mudding)
Once the tape is in place, the first layer of joint compound, also known as “mud,” is applied over the taped seams and screw indentations. The goal of this layer is to fill in gaps and create a smooth transition between drywall sheets.
- Drying Time: Joint compound usually needs at least 24 hours to dry, depending on room temperature and humidity levels. Faster-setting “hot mud” compounds are also available, which dry within hours and can be useful for time-sensitive projects.
4. Second Coat of Joint Compound
After the first layer has dried, a second coat of mud is applied. This coat is slightly wider than the first, extending beyond the edges of the tape to ensure a smooth blend with the surrounding drywall. At Saskatoon Drywallers, we pay careful attention to smoothing this layer, as each coat builds toward a flawless surface.
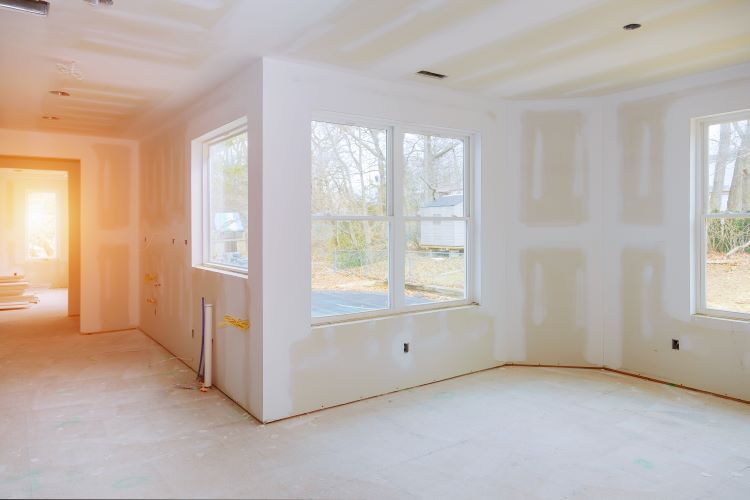
5. Third Coat and Sanding
A final coat of compound is applied, further smoothing any remaining unevenness. This coat provides a polished base and is especially important for Levels 4 and 5 finishes. After it dries, the surface is sanded carefully to remove any visible lines, bumps, or rough patches.
- Sanding Tip: Using fine-grit sandpaper (such as 220 grit) ensures that the finish is even without damaging the drywall surface.
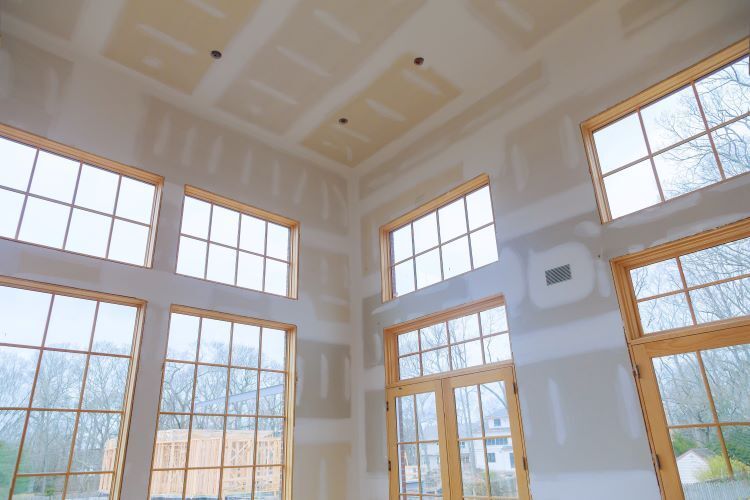
6. Level 5 Skim Coat (Optional)
For high-end finishes, an additional skim coat of joint compound is applied across the entire wall or ceiling surface. This final layer provides an exceptionally smooth finish that prevents any minor imperfections from showing through paint, particularly under direct lighting. After the skim coat, a final round of sanding ensures that the surface is flawless.
7. Priming the Surface
Priming is a critical final step before painting. The primer seals the porous surface of the drywall and joint compound, creating a uniform base for paint application. It also enhances paint adhesion and ensures that the color appears consistent across the wall. Without a good primer, paint can appear uneven, especially in areas where joint compound is applied.
- Primer Selection: For high-moisture areas like bathrooms or basements, moisture-resistant or mold-inhibiting primers are ideal. For walls with a Level 5 finish, a high-build primer can further smooth the surface.
Common Challenges and How Professionals Overcome Them
Drywall finishing may look straightforward, but achieving a smooth and seamless look requires skill and experience. Here are some common challenges and how professionals at Saskatoon Drywallers handle them:
- Joint Compound Drying and Cracking: Inconsistent temperatures can cause joint compound to dry too quickly or unevenly, leading to cracks. We maintain a stable environment to prevent this and use compounds suitable for the specific space.
- Achieving Smooth Seams: Blending drywall sheets seamlessly requires precision. Our team uses the right tools, including wide drywall knives and sanders, to create a clean, level surface.
- Dust Control: Sanding drywall can create a lot of dust. Our professionals use dust barriers and vacuums to contain dust, keeping the work area clean and safe for residents.
Why Choose Professional Drywall Finishing?
While DIY drywall finishing might seem cost-effective, achieving a professional look takes experience and proper technique. At Saskatoon Drywallers, we ensure that your drywall installation is durable, crack-free, and ready for paint. With our trained team and high-quality materials, we deliver results that stand the test of time, enhancing the aesthetic and functional value of your space.
Final Thoughts
Whether you’re finishing new drywall or renovating an existing room, a quality drywall finish makes a significant difference in appearance. Understanding the process helps set realistic expectations and ensures a better result. From taping to sanding, every step plays a role in the final look and durability of your walls.
Ready to transform your home with a smooth, polished drywall finish? Contact Saskatoon Drywallers to learn more about our drywall services or to schedule your next project. We’re here to provide top-notch drywall finishes that elevate your interior space!
You might also like