A Step-by-Step Guide to Finishing Drywall in a Garage
Finishing the drywall in your garage can transform a cold, unfinished space into a functional and polished area. Whether you're looking to create a workshop, improve insulation, or simply enhance the appearance of your garage, properly finishing drywall is key. In this guide, Saskatoon Drywallers provides a comprehensive step-by-step process to help you achieve professional results when finishing drywall in your garage.
Step 1: Gather Your Materials and Tools
Before starting, ensure you have all the necessary materials and tools. Here’s a list of items you’ll need:
- Drywall sheets (appropriate thickness, typically ½ inch for walls and ⅝ inch for ceilings)
- Drywall screws
- Tape measure
- Utility knife
- Drywall saw (for cutting around outlets and fixtures)
- T-square or straight edge
- Drywall joint tape
- Joint compound (mud)
- Sanding block or drywall sander
- Drywall primer and paint
- Safety gear (goggles, gloves, and dust mask)
Having everything ready will make the process smoother and more efficient.
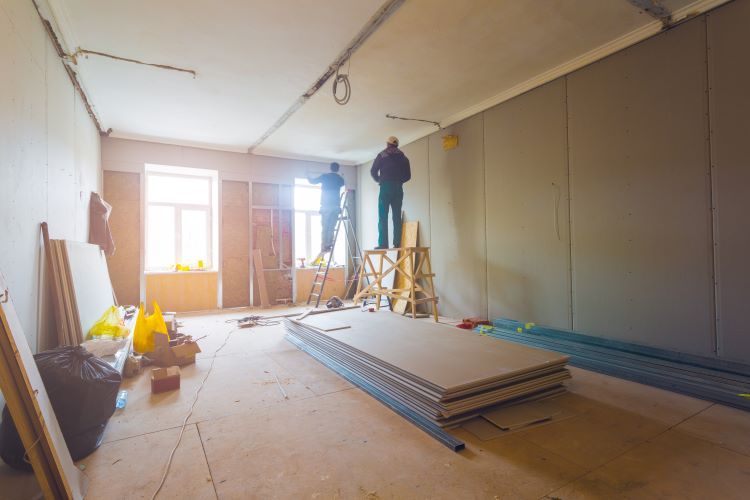
Step 2: Install Drywall Sheets
Once you've gathered your tools, it's time to hang the drywall. Here's how to do it:
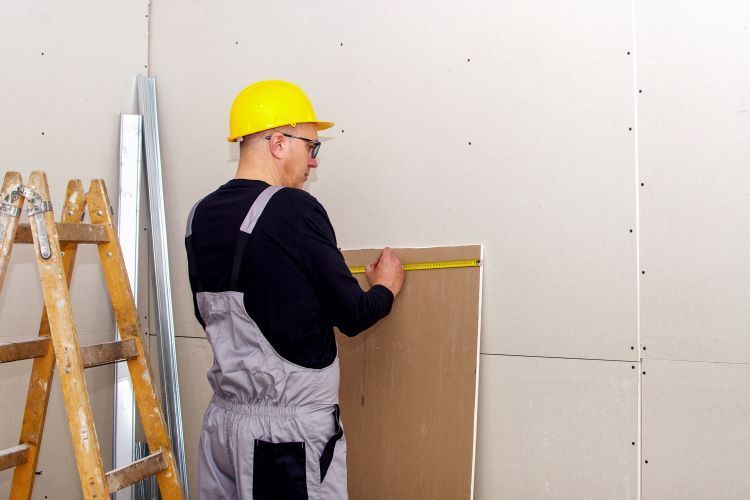
Measure and Cut Drywall
Start by measuring the garage walls and ceiling. Cut the drywall sheets to the appropriate size using a utility knife or drywall saw. Be sure to leave space for electrical outlets, light switches, and any other fixtures by cutting out those sections carefully.
Install Ceiling Drywall First
It’s important to begin by attaching the drywall sheets to the ceiling. Use drywall screws to secure the panels to the ceiling joists, spacing the screws about 12 to 16 inches apart. Be sure the drywall sheets are flush and snugly fitted to prevent sagging. You may need a second person or a drywall lift to help hold the sheets in place.
Hang the Wall Drywall
Next, move on to the walls. Start at the top of the wall and work your way down. Like the ceiling, fasten the drywall sheets to the wall studs using drywall screws, keeping the screws evenly spaced. Trim around any obstacles, such as windows, doors, or outlets, ensuring a neat finish.
Step 3: Tape and Mud the Seams
With the drywall securely installed, it’s time to tape and mud the seams for a smooth finish.
Apply Joint Tape
Start by applying drywall joint tape to all the seams where the drywall sheets meet. This will reinforce the joints and prevent cracking. Place the tape over the seams and press it firmly into the joint compound.
First Coat of Joint Compound
Using a putty knife, apply the first coat of joint compound (commonly called mud) over the taped seams. Spread it evenly across the joints, ensuring the tape is fully covered. Use smooth, even strokes to avoid lumps and bumps. Also, apply mud to cover any screw holes or imperfections in the drywall.
Let It Dry and Sand
Once the first coat is applied, allow it to dry completely. This may take 24 hours, depending on the temperature and humidity in the garage. After drying, use a sanding block or drywall sander to smooth out any rough spots or high areas in the mud.
Step 4: Apply Additional Coats of Joint Compound
For a professional-looking finish, you’ll need to apply two more coats of joint compound.
Second Coat
Apply a second, thinner coat of joint compound over the seams, extending the compound beyond the edges of the first coat. This will help to feather out the joint and create a smooth transition between the drywall sheets. Allow this coat to dry completely, and then sand it lightly.
Third Coat
Repeat the process with a third coat, again feathering out the edges even further. The goal is to create a seamless surface between the drywall sheets. Once this final coat is dry, sand it one last time to achieve a smooth finish.
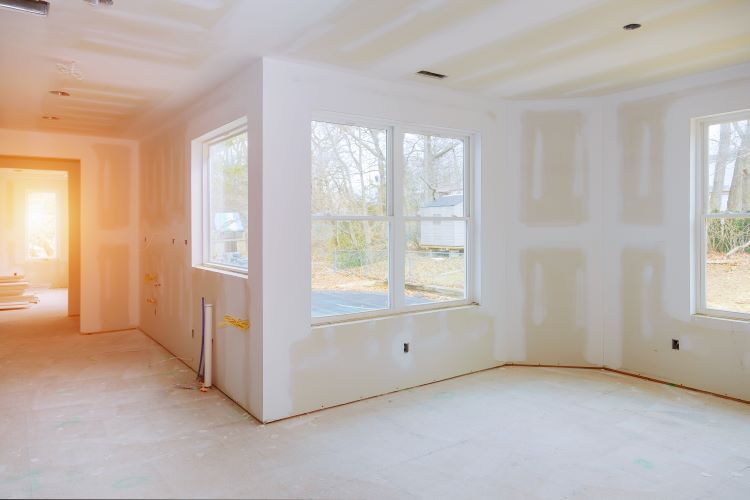
Step 5: Prime and Paint the Drywall
Now that your drywall is smooth and free of imperfections, it’s time to finish it with primer and paint.
Prime the Drywall
Before painting, apply a drywall primer to seal the surface and prepare it for the final coat of paint. Primer ensures that the paint adheres properly and provides a consistent finish. Allow the primer to dry thoroughly before proceeding.
Paint the Walls and Ceiling
Once primed, you can paint the walls and ceiling in your desired color. For garages, it's recommended to use a durable, easy-to-clean paint, such as semi-gloss or satin finish, to withstand wear and tear. Apply at least two coats of paint for an even and professional-looking finish.
Step 6: Inspect and Touch Up
After painting, inspect the entire garage for any imperfections or areas that may need touch-up. Check for spots where the drywall tape might be visible, areas where the joint compound is uneven, or spots where the paint coverage is thin.
If necessary, sand any rough spots, apply more joint compound where needed, and touch up the paint for a flawless finish.
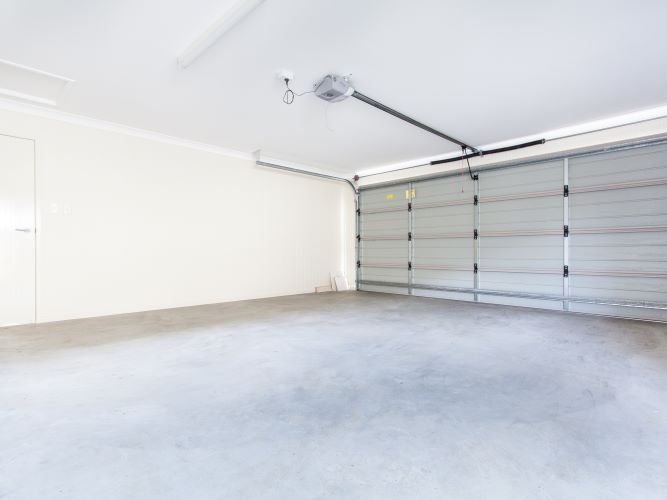
Step 7: Clean Up and Enjoy Your Finished Garage
Once everything is dry and finished, clean up any debris, dust, and tools from the workspace. Congratulations, your garage is now beautifully finished with drywall, offering a more polished, insulated, and functional space!
Conclusion
Finishing drywall in a garage is a rewarding project that can dramatically improve the look and utility of the space. By following these steps, you can create a smooth, professional finish that enhances your garage's overall appearance and functionality. For more complicated drywall installations or if you prefer expert help, Saskatoon Drywallers is here to assist with all your drywall needs. Our team provides high-quality drywall services to ensure your garage looks and performs its best for years to come.
You might also like