Understanding Drywall Taping: A Crucial Step in Finishing

Drywall taping is an essential step in the drywall installation process, bridging the gap between a rough, unfinished surface and a smooth, paint-ready wall. At Saskatoon Drywallers, we understand that mastering the art of drywall taping can make all the difference in achieving a flawless finish. Whether you're a DIY enthusiast or a professional contractor, understanding the intricacies of drywall taping is key to a successful project.
What is Drywall Taping?
Drywall taping involves covering the seams between drywall panels with joint tape and joint compound (also known as mud). This process creates a smooth, continuous surface that hides the joints and fasteners, ensuring the wall looks seamless once painted. Proper taping is crucial for durability, as it prevents cracks and other imperfections from appearing over time.
The Importance of Drywall Taping
1. Seamless Finish
Drywall taping is essential for achieving a smooth, even surface. Properly taped seams are virtually invisible, providing a professional look to your finished walls. This is especially important in high-visibility areas where any imperfections can be easily noticed.
2. Structural Integrity
Taping and mudding the seams add strength to the joints between drywall panels. This helps prevent cracks and separation that can occur due to settling, temperature changes, and everyday wear and tear. A well-taped wall is more durable and resilient.
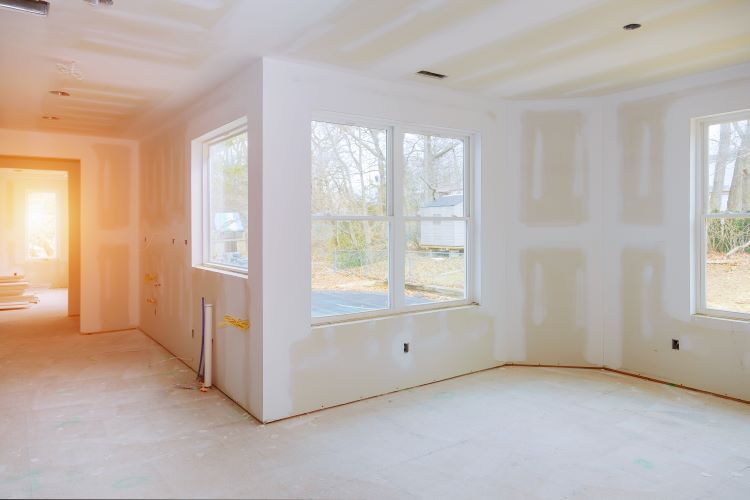
3. Paint Preparation
Proper taping and mudding create a perfect canvas for painting. Without smooth seams, paint can highlight imperfections, making them more noticeable. A well-prepared surface ensures your paint job looks professional and lasts longer.
The Drywall Taping Process
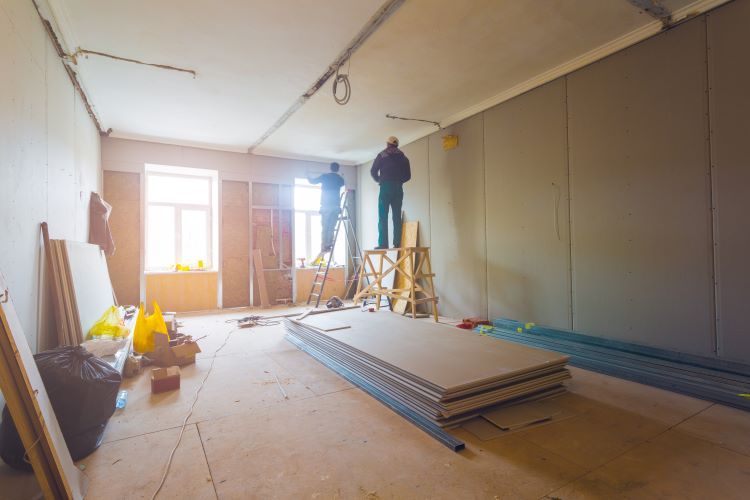
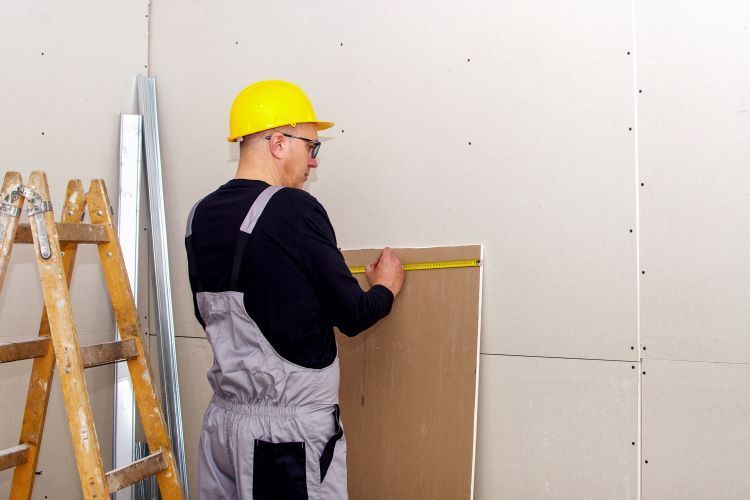
1. Preparation
Before starting the taping process, ensure that all drywall panels are securely fastened and that the seams are clean and free of dust. Cut the joint tape to the required lengths and have your joint compound ready.
2. Applying the First Coat
Begin by applying a thin layer of joint compound over the seams using a taping knife. Press the joint tape into the wet compound, ensuring it's centered over the seam. Smooth out any air bubbles or wrinkles in the tape, then apply a thin layer of compound over the tape, feathering the edges to blend with the drywall surface.
3. Second and Third Coats
Once the first coat is dry, apply a second, slightly wider coat of joint compound to cover the tape. Feather the edges to create a smooth transition. Allow this coat to dry, then sand lightly to remove any imperfections. Apply a third, even wider coat of compound, feathering the edges once again. After it dries, sand the surface smooth.
4. Sanding and Finishing
Sanding is a critical step in achieving a seamless finish. Use fine-grit sandpaper to smooth out any remaining imperfections and ensure the surface is even. Be careful not to sand too much, as this can expose the tape and require additional touch-ups. Once sanding is complete, wipe down the walls to remove dust and prepare for painting or further finishing.
Tips for Successful Drywall Taping
1. Use Quality Materials
Investing in high-quality joint tape and compound can make a significant difference in the final result. Quality materials are easier to work with and provide better adhesion and durability.
2. Work in Thin Layers
Applying thin, even layers of joint compound helps prevent cracking and reduces the amount of sanding required. Multiple thin coats are more effective than one thick coat.
3. Feather the Edges
Feathering the edges of each coat of joint compound ensures a smooth transition between the taped seam and the drywall surface. This technique minimizes visible lines and creates a seamless finish.
4. Be Patient
Allow each coat of joint compound to dry completely before applying the next. Rushing the process can lead to imperfections and additional work. Patience is key to achieving a professional result.
5. Practice Makes Perfect
Drywall taping requires skill and practice. If you're new to the process, consider starting with a small project or practice area to hone your technique before tackling larger spaces.
Conclusion
Drywall taping is a crucial step in the finishing process, ensuring your walls look smooth, seamless, and professional. At Saskatoon Drywallers, we have the expertise and experience to handle all your drywall needs, from installation to finishing. Whether you're a DIY enthusiast or a professional contractor, understanding the importance of proper taping and following best practices will help you achieve outstanding results.
Contact us today for all your drywall services in Saskatoon!
You might also like