Drywall Installation Expert Tips and Tricks
When it comes to creating smooth, polished walls, drywall installation is a crucial step in any construction or renovation project. While drywall installation may seem straightforward, achieving professional results requires attention to detail and a few expert techniques. Whether you're a DIY enthusiast or hiring a professional, these expert tips and tricks from Saskatoon Drywallers will help ensure that your drywall installation is flawless.
1. Proper Preparation is Key
Before you begin installing drywall, it's essential to prepare the area properly. This includes:
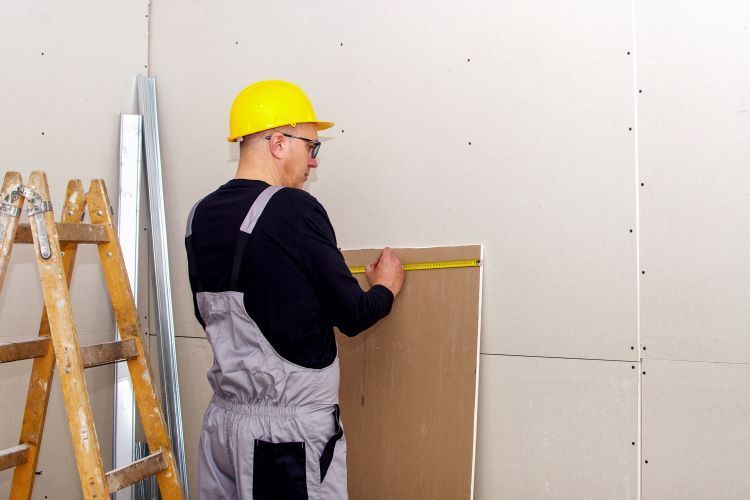
- Measuring and Planning: Accurate measurements are crucial. Measure the walls and ceilings to determine the number of drywall sheets you'll need. Plan the layout to minimize the number of seams, as this will reduce the amount of taping and finishing required.
- Gathering the Right Tools: Having the right tools on hand will make the job easier. Essential tools include a utility knife, drywall saw, T-square, measuring tape, drywall lift, and screw gun or drill with a drywall bit.
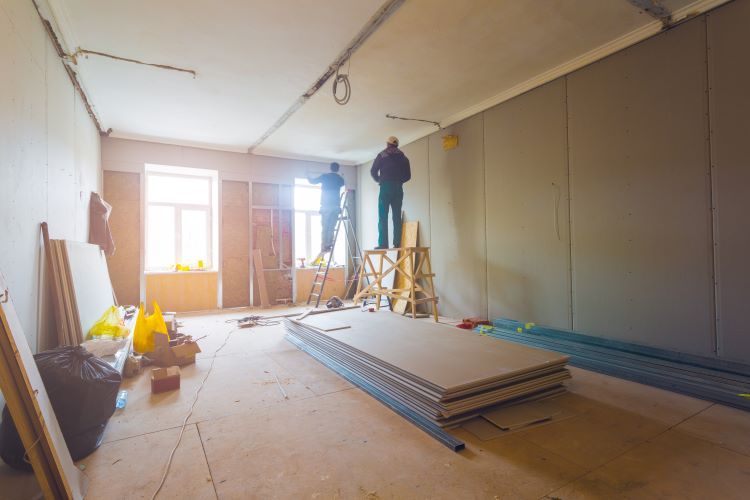
- Clearing the Workspace: Ensure the area is clean and free of debris. Clear any obstacles and make sure the space is well-lit, so you can work efficiently.
2. Cutting Drywall Like a Pro
Cutting drywall accurately is vital for a seamless installation. Here’s how to do it:
- Score and Snap: Use a T-square or a straightedge to guide your utility knife as you score the drywall. Apply firm pressure to make a clean cut through the paper surface. Then, snap the drywall along the scored line and cut through the remaining paper backing.
- Cut Openings for Outlets and Fixtures: Use a drywall saw to cut openings for electrical outlets, light switches, and other fixtures. Measure carefully and mark the location before cutting to avoid mistakes.
3. Positioning the Drywall Sheets
The way you position drywall sheets on the wall or ceiling can significantly impact the final result:
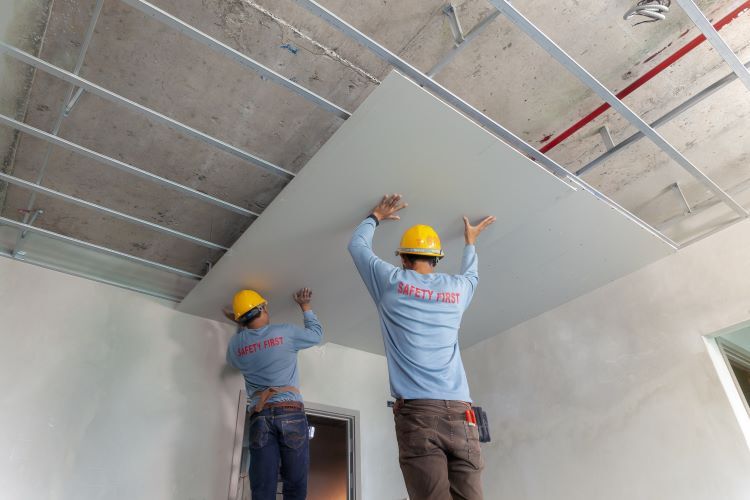
- Start with the Ceiling: If you're installing drywall on both the ceiling and walls, start with the ceiling first. This will ensure that the wall sheets support the edges of the ceiling sheets, creating a tighter fit and fewer seams.
- Stagger the Seams: Avoid aligning the seams of adjacent sheets. Staggering the seams creates a stronger and more stable wall structure and makes taping and finishing easier.
- Leave a Gap at the Bottom: When installing drywall on walls, leave a small gap (about 1/2 inch) at the bottom where the drywall meets the floor. This gap allows for floor expansion and prevents the drywall from absorbing moisture from the floor, which can cause damage over time.
4. Securing the Drywall
Properly securing drywall sheets to the framing is essential for a smooth finish:
- Use Drywall Screws: Drywall screws provide a stronger hold than nails and are less likely to pop out over time. Space the screws about 12 inches apart on the wall studs and 16 inches apart on the ceiling joists. Be careful not to drive the screws too deep, as this can weaken the hold and damage the drywall surface.
- Screw in the Center First: Start by securing the drywall sheet in the center, then work your way out toward the edges. This method helps prevent bulges and ensures the sheet is evenly attached to the framing.
5. Taping and Mudding for a Flawless Finish
Taping and mudding are critical steps in achieving a smooth, professional-looking finish:
- Apply Tape Correctly: Use paper or mesh tape to cover the seams between drywall sheets. Paper tape is more durable, while mesh tape is easier to work with. Apply a thin layer of joint compound (mud) over the seams, then press the tape into the mud. Smooth out any bubbles or wrinkles with a taping knife.
- Layer the Joint Compound: Apply multiple thin layers of joint compound over the taped seams, allowing each layer to dry completely before applying the next. Feather the edges of the compound to blend it into the surrounding drywall, creating a seamless transition.
- Sand Smooth: Once the joint compound is dry, sand the surface lightly with fine-grit sandpaper to achieve a smooth finish. Be careful not to sand too much, as this can damage the drywall or expose the tape underneath.
6. Dealing with Corners and Edges
Corners and edges require special attention to ensure a clean, crisp finish:
- Use Corner Beads: Metal or plastic corner beads reinforce the corners and protect them from damage. Attach the corner bead to the corner with drywall screws or nails, then cover it with joint compound. Smooth the compound with a taping knife, feathering the edges for a seamless look.
- Finish the Edges: Where the drywall meets windows, doors, or other fixtures, use a joint compound to finish the edges. Apply the compound with a taping knife and smooth it out for a clean, polished appearance.
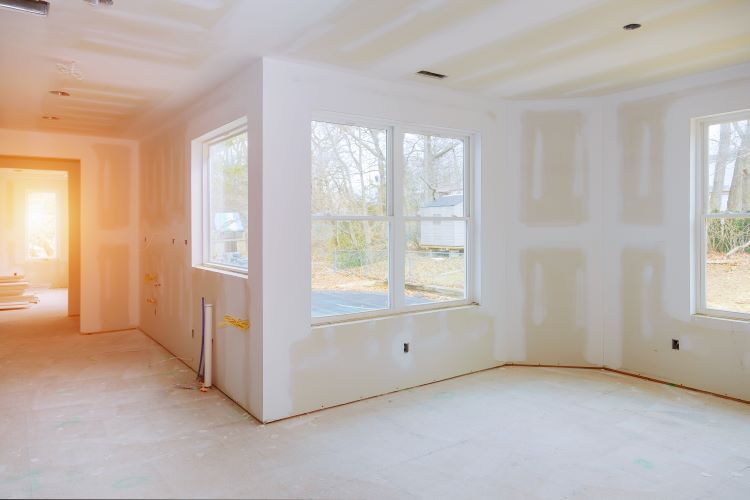
7. Final Touches
Once the drywall is installed, taped, and sanded, it's time for the finishing touches:
- Prime and Paint: Before painting, apply a coat of primer to the drywall. Primer helps seal the surface, making the paint adhere better and ensuring an even finish. Once the primer is dry, you can paint the walls or ceilings with your chosen color.
- Inspect for Flaws: After painting, inspect the walls for any imperfections. If you notice any bumps, dips, or visible seams, you may need to touch up those areas with joint compound, sand, and repaint.
Drywall installation is a skill that takes practice and patience, but with the right techniques, you can achieve professional results. By following these expert tips and tricks from Saskatoon Drywallers, you’ll be well on your way to creating smooth, polished walls that are ready for paint and finishing touches.
Whether you're tackling a DIY project or hiring a professional, these insights will help ensure a flawless drywall installation in your home.
You might also like