Things to Consider When Removing Popcorn Ceilings
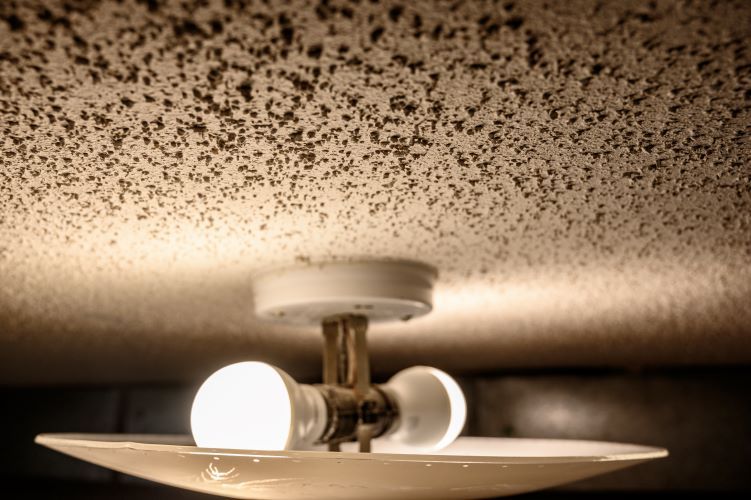
If you’re considering updating your home’s interior, one of the most impactful changes you can make is removing popcorn ceilings. This outdated texture can make spaces feel dated and cramped. At Saskatoon Drywallers, we understand that this process can be daunting, but with the right approach and considerations, you can transform your home’s look. Here are key factors to keep in mind when removing popcorn ceilings.
1. Assessing the Material
Before starting the removal process, it's essential to determine if your popcorn ceiling contains asbestos. Many homes built before the mid-1980s used asbestos in popcorn ceiling materials, which poses health risks when disturbed.
- Testing for Asbestos: If your home was built before 1985, it’s wise to have a professional test the ceiling. If asbestos is present, it’s crucial to hire a certified asbestos abatement contractor to safely remove the material.
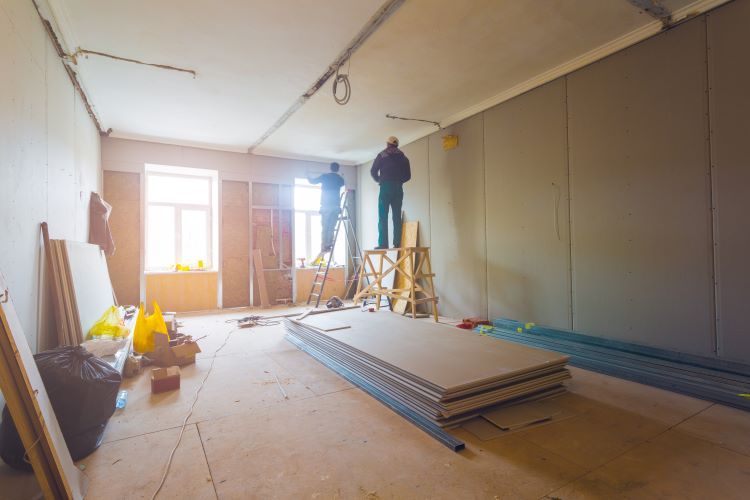
2. Preparing the Space
Popcorn ceiling removal can be a messy job, so preparation is key:
- Clear the Room: Remove all furniture, wall decorations, and anything else that might get damaged or dirty during the process. If moving large items isn’t feasible, cover them thoroughly with plastic sheeting.
- Protect Flooring: Lay down drop cloths or plastic sheeting on the floor to catch debris and prevent damage.
- Turn Off Electricity: Make sure to turn off power to any ceiling fixtures to avoid accidents while you work.
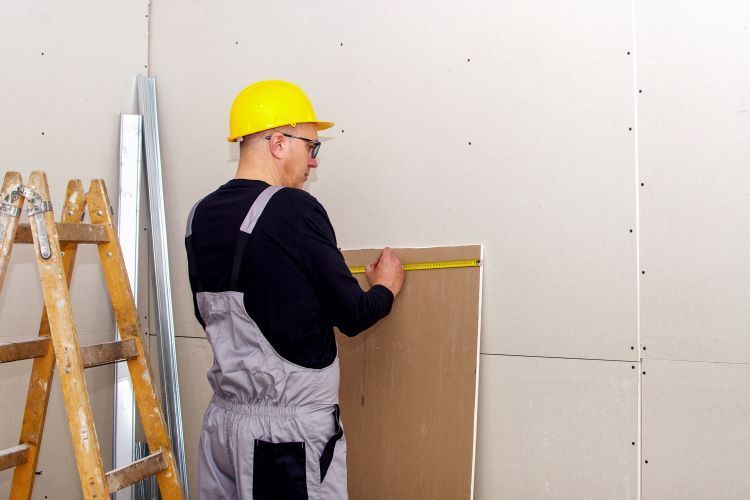
3. Gathering the Right Tools
Having the right tools at your disposal can make the process smoother and more efficient. Here’s what you’ll need:
- Scraper: A wide putty knife or drywall scraper is essential for gently removing the texture.
- Water Sprayer: To soften the texture, a spray bottle filled with water will help.
- Ladder: Depending on your ceiling height, a sturdy ladder may be necessary.
- Protective Gear: Don’t forget safety goggles, a dust mask, and gloves to protect yourself from dust and debris.
4. The Removal Process
When you’re ready to start, follow these steps for effective popcorn ceiling removal:
- Wet the Ceiling: Lightly spray a small section of the ceiling with water. Allow it to soak in for a few minutes. This will help loosen the texture.
- Scrape Carefully: Using your scraper, gently work to remove the popcorn texture. Be cautious not to gouge the drywall beneath.
- Work in Sections: Continue this process in small sections, moving methodically across the ceiling.
- Repair Damage: Once the texture is removed, inspect the drywall for any damage. Fill in any gouges or holes with joint compound, and sand the area smooth once dry.
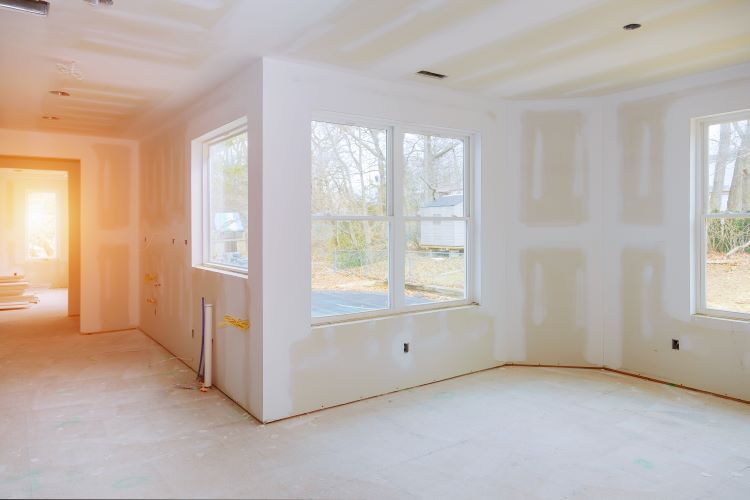
5. Finishing Touches
After the popcorn texture is removed and the ceiling is smooth, you’ll want to finish it properly:
- Prime and Paint: Apply a coat of primer followed by your desired ceiling paint. A fresh coat can completely change the appearance of the room.
- Consider a New Texture: If you like a textured look but want something modern, consider applying a different style of ceiling texture, such as knockdown or skip trowel.
6. Know When to Call in Professionals
While removing popcorn ceilings can be a DIY project, it can also be labor-intensive and messy. If you’re unsure about the process or discover asbestos, it’s best to consult professionals like Saskatoon Drywallers. We have the experience and tools necessary to handle the job safely and efficiently, ensuring your home looks its best.
Conclusion
Removing popcorn ceilings can greatly enhance the aesthetic appeal of your home, making spaces feel larger and more inviting. By considering the factors outlined above, you’ll be better prepared for the task ahead. Whether you decide to take on the project yourself or hire professionals, removing outdated textures is a great step toward modernizing your living space.
Contact Saskatoon Drywallers today for expert assistance with your drywall and ceiling projects!
You might also like