A Guide to Basement Finishing
When it comes to maximizing the living space in your home, finishing your basement is one of the best investments you can make. At Saskatoon Drywallers, we specialize in basement drywall finishing and renovation, helping homeowners transform their underutilized basements into functional and inviting spaces. In this blog, we'll explore the benefits of basement drywall finishing and provide insights into the process.
Benefits of Basement Drywall Finishing
1. Increased Living Space
Finishing your basement adds valuable square footage to your home. Whether you want to create a family room, home office, gym, or guest suite, a finished basement provides the additional space you need without the cost of building an addition.
2. Enhanced Home Value
A finished basement can significantly increase the resale value of your home. Potential buyers are often attracted to homes with finished basements, seeing them as a versatile space that can be used for various purposes. Investing in basement finishing can provide a substantial return on investment.
3. Improved Energy Efficiency
Drywall finishing can improve the insulation and energy efficiency of your basement. Properly insulated and finished walls help regulate temperature, keeping your basement warmer in the winter and cooler in the summer. This can lead to lower energy bills and a more comfortable living environment.
4. Better Moisture Control
Basements are prone to moisture issues, which can lead to mold and mildew growth. Drywall finishing, combined with proper insulation and moisture barriers, helps to control humidity levels and prevent moisture from seeping into the living space. This creates a healthier environment for your family.
5. Enhanced Aesthetics
A finished basement looks clean, polished, and inviting. Drywall provides a smooth, seamless surface that can be painted and decorated to match the rest of your home. It transforms a cold, unfinished space into a warm and welcoming area.
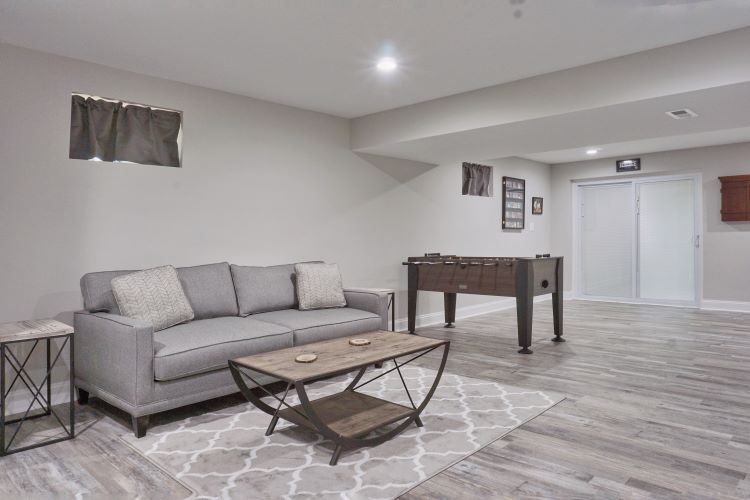
6. Increased Functionality
With finished walls, your basement becomes a versatile space that can be tailored to your needs. You can install shelving, cabinets, and other storage solutions, or create designated areas for different activities. A finished basement can serve as a playroom, entertainment center, or even a rental suite.
The Basement Drywall Finishing Process
Step 1: Planning and Design
The first step in basement drywall finishing is planning and design. This involves:
- Assessing the Space: Evaluate the current condition of your basement and identify any issues that need to be addressed, such as moisture, cracks, or insulation.
- Designing the Layout: Plan the layout of your finished basement, considering how you want to use the space. This includes determining the placement of walls, doors, and any built-in features.
- Obtaining Permits: Check with your local building authorities to determine if any permits are required for your basement renovation project.
Step 2: Preparing the Space
Before drywall installation can begin, the space needs to be properly prepared:
- Moisture Control: Address any moisture issues by installing a vapor barrier and ensuring proper drainage around the foundation.
- Insulation: Install insulation to improve energy efficiency and soundproofing. Common options include fiberglass batts, foam board, and spray foam.
- Framing: Build the framing for walls and ceilings using wood or metal studs. This provides the structure for attaching drywall sheets.
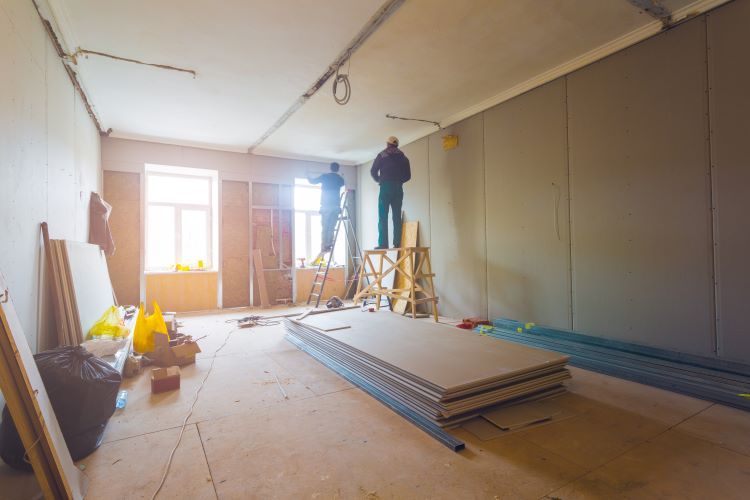
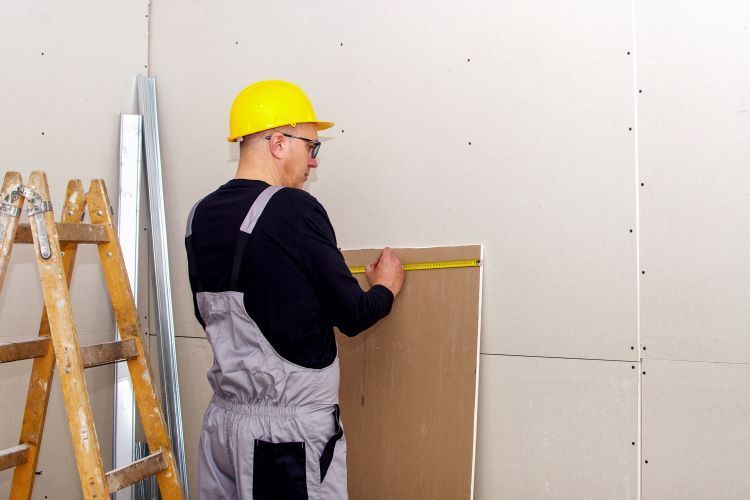
Step 3: Installing Drywall
Once the space is prepared, it's time to install the drywall:
- Measuring and Cutting: Measure and cut drywall sheets to fit the dimensions of the walls and ceiling.
- Attaching Drywall: Secure the drywall sheets to the framing using drywall screws. Start from the top and work your way down, ensuring that the sheets are flush and securely fastened.
- Creating Openings: Cut out openings for electrical outlets, switches, and any other fixtures.
Step 4: Taping and Mudding
After the drywall sheets are installed, the next step is taping and mudding:
- Applying Drywall Tape: Place drywall tape over the seams between sheets and over any screws or nails.
- Applying Joint Compound: Spread joint compound (mud) over the taped seams, screws, and nails using a drywall knife. Apply multiple coats, allowing each coat to dry and sanding between coats to achieve a smooth finish.
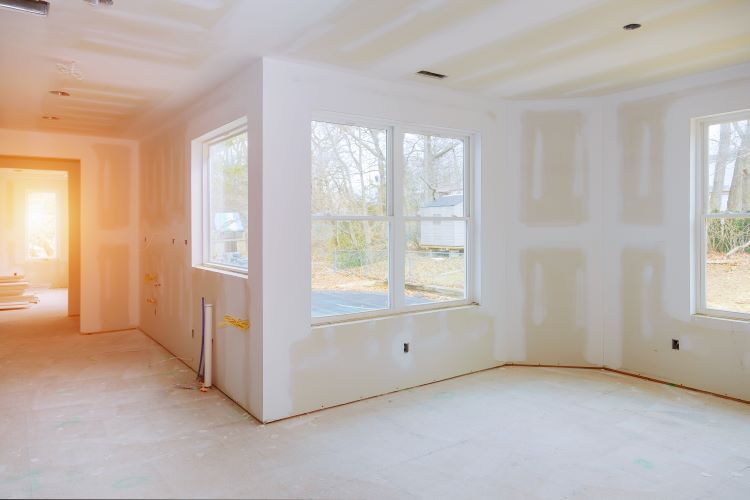
Step 5: Sanding and Priming
Once the joint compound is dry and sanded, the walls are ready for priming:
- Sanding: Sand the dried joint compound to create a smooth, even surface.
- Priming: Apply a high-quality primer designed for drywall to seal the surface and prepare it for painting.
Step 6: Painting and Finishing
The final step in the process is painting and finishing:
- Choosing Paint: Select a paint color and finish that complements your home's overall aesthetic. For basements, it's often practical to use a durable, easy-to-clean paint finish.
- Painting: Apply the paint in multiple coats, allowing each coat to dry completely before applying the next.
- Finishing Touches: Add any finishing touches, such as trim, baseboards, and decorative elements.
Conclusion
Basement drywall finishing is a worthwhile investment that can transform your underutilized basement into a valuable and functional living space.
At Saskatoon Drywallers, we have the expertise and experience to guide you through the entire process, ensuring a seamless and professional finish. Contact us today to learn more about how we can help you maximize the potential of your basement.
You might also like